
Its been awhile..I hope you like this tut..
You must have working knowledge of PSP..
Supplies:
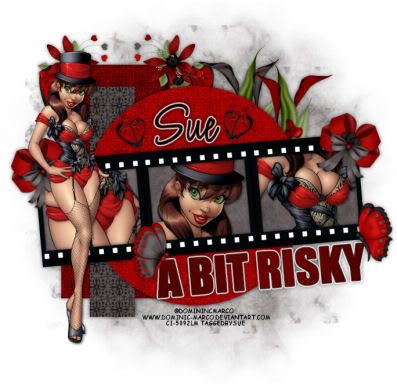
Tube of Choice: I am using the awesome artwork of Dominic Marco..
Scrap Kit of Choice:I am using the awesome PTU kit "SableBlush" by me..
Thanks hun..
Mask of Choice: I have supplied the one I used HERE..If this is your mask please let me know so I may give you credit or remove it..
Thank you..
Font of Choice: I use Licorice
Drop Shadow: For the template 0 0 50 10..For tube 2 2 50 5
Filters:
Xero-Porcelain-Default settings
EyeCandy 4000-Gradient Glow
Both optional..
Okay lets get started..
Open your template shift D and delete the original..Also delete the copyright layer..
Highlight your background layer Image-canvas size and increase to 700x700 so we have room to work..We can crop later..
Highlight your Rectangle 1 layer select - all - float - defloat..
Paste a paper of choice as a new layer..I chose Paper 40..Selections invert - delete..Selections none add a drop shadow and delete the original layer..
Now do this with Rectangle 2 layer and your Circle layer..I chose Papers 38 & 39 for these layers..
Highlight FilmStrip Back select all - float - defloat..Paste paper as a new layer..I chose Paper 31..
Selections invert - delete..Selections none..
Back on the original layer with your magic wand click inside one of the squares..Paste your tube as a new layer position it so that part of it is inside the marching ants..Hit delete..
Add the Xero filter to your tube and a drop shadow..
Now do the same for the other 2 squares using different parts of your tube..Then delete the original layer..
I left my Film Strip layer black..That is optional..
Highlight your words select all - float - defloat..Paste a paper of choice I chose Paper 3..Selections invert - delete, selections none..Add a gradient glow to your words (optional) then add a drop shadow..
Paste your tube as a new layer position it see my tag for reference..Add a drop shadow..
Add any elements you wish..
Now to add your mask..Highlight your background layer paste a paper of choice..I chose paper 20..Load mask form image - delete mask layer - merge group..
Now add your name with a drop shadow..I also chose to put a gradient glow on my name..
Add the correct copyright..
Crop excess white and resize..
Save as a png or a jpeg..
Then your done..
Thank you for trying my tut any feed back would be welcome..I would love to see what you have created..
Written by Sue June 24th 2009
Any resemblance to another tut is coincidental..


No comments:
Post a Comment