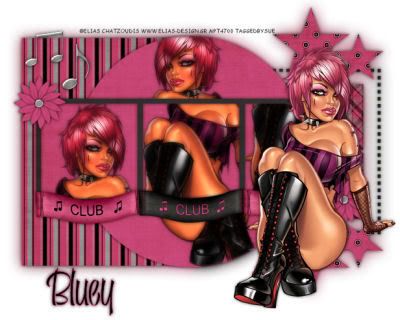
Hope you like this tut..
You must have working knowledge of PSP..
Supplies:
PSP9 any version will work..
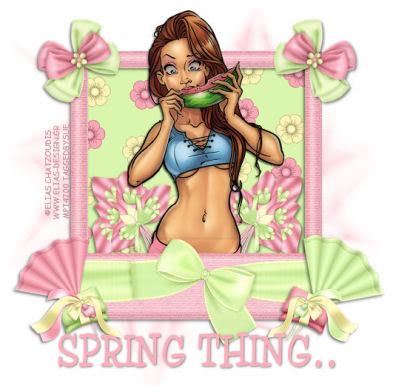
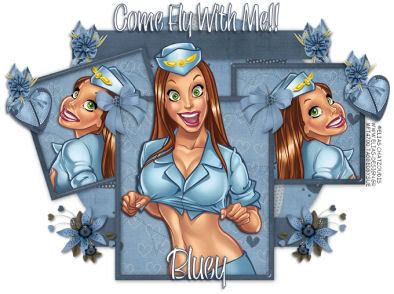
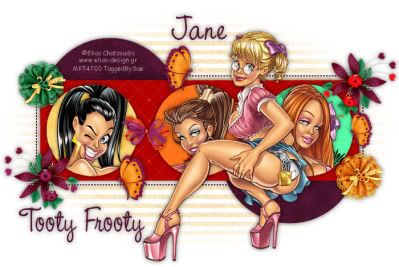
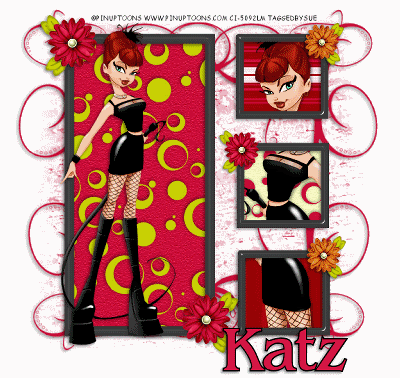
Tube of Choice: I am using the gorgeous artwork of Elias Chatzoudis..
You must have a license to use his artwork which you can purchase HERE..
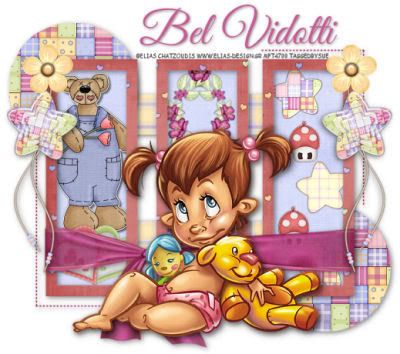
Scrap Kit of Choice: I am using the awesome FTU kit "Bear Hug" by Bel Vidotti HERE..
Thanks hun..
Template #3 by Yvette HERE..
Font of Choice: I am using Good Vibrations..
Drop Shadow: 2 2 50 10
Okay lets get started..
Open template shift D and delete the original..Also delete the copyright layer..
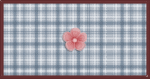
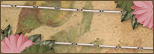
Highlight the Rectangle layer select all - float - defloat..Paste a paper of choice selections invert - delete selections none..Add a drop shadow and delete the original..
Do the same with the Circle layer..
Highlight the Photo layer select all - float - defloat..Paste a paper of choice selections invert - delete..Do not deselect..
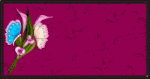
Add some elements into the marching ants see my tag for reference..Hit delete to remove any excess..Selections none add a drop shadow to you elements..Delete the original layer..
Highlight your Frame layer select all - float -defloat..Paste a paper of choice selections invert - delete selections none..Add a drop shadow and delete the original..
Do the same with the Dotted Line layer..
Paste your tube as a new layer add a drop shadow..
Add any elements you wish..
With a font of choice add your name and a drop shadow..
Add the correct copyright..
Crop excess white and resize..
Save as a png or a jpeg..
Then your done..
Thank you for trying my tut any feedback would be welcome..I would love to see what you have created..
Written by Sue March 29th 2009..
Any resemblance to another tut is coincidental..
This tut has been registered with TWI