
Hope you like this tut..
You must have working knowledge of PSP..
Supplies:
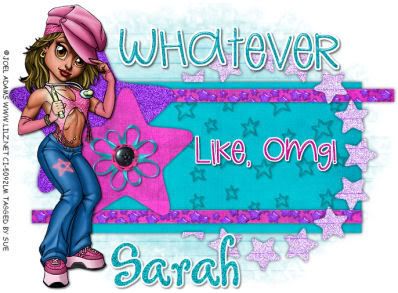
Tube of Choice: I am using the fantastic artwork of Joel Adams..
You must have a license to use his artwork which you can purchase HERE..
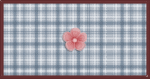
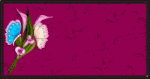
Scrap Kit of Choice: I am using the fantastic PTU kit " Her Highschool Years" By Designs by Sarah which you can purchase HERE..
Thanks Sarah..
Template #17 by Cupcake Sprinkles HERE..
Thanks Caitlin..
Mask of Choice: I am using WSL_Mask2 HERE..
Thanks hun..
Font of Choice: I am using Not His Angel..
Drop Shadow: For template 0 0 70 8 For tube and elements 2 2 50 3..
Okay lets get started..
Open template shift D and delete the original..Also delete the copyright layer..
Add a new layer and flood fill white arrange and send to bottom..Then go to Image - canvas size and increase to 700x700 we can crop later..
Highlight Gray Rectangle layer select all - float - defloat..Paste paper of choice selections invert - delete selections none..Add a drop shadow and delete the original layer..
Paste OMG word art and resize it so it fits on the rectangle layer about 70%..Add a drop shadow..
Highlight White Lines layer select all - float - defloat..Paste a paper of choice selections invert - delete..Do not deselect..
Paste Gel Pen Starline 2 as a new layer resize it by 70%..Place it inside your marching ants hit delete..On the bottom rectangel I found that I needed to duplicate it so it would fit..Selections none add a drop shadow and delete the original..
Highlight you SemiStar layer select all - float - defloat..Paste a paper of choice selections invert - delete selections none..Go to Adjust - add noise - uniform and monochrome checked and have it set to 50..Add a drop shadow and delete the original..
Highlight Black Star layer select all - float - defloat..Paste paper of choice selections invert - delete selections none..I added noise to this with the same settings as above..Add a drop shadow and delete the original..
Highlight your Grey Heart layer select all - float - defloat..Paste paper of choice selections invert - delete selections none..Add a drop shadow and delete the original..
Paste the Whatever word art add a drop shadow and place towards the top of your tag..
Add any elements you wish..
Paste your tube as a new layer position to the left of your template..Add a drop shadow..
Now to add your mask..Highlight your bottom layer paste a paper of choice..Load mask - delete mask layer - merge group..
With a font of choice add your name..I added noise with the same settings as above..Add a drop shadow..
Add the correct copyright..
Crop excess white and resize..
Save as a png or a jpeg..
Then your done..
Thank you for trying my tut any feedback would be welcome..I would love to see what you create..
Written by Sue March 28th 2009..
Any resemblance to another tut is coincidental..
This tut is registered with TWI...


No comments:
Post a Comment